
In Arlington, MA homes, the backsplash is often the smallest part of the kitchen and the fastest place to make the room look better. A new backsplash can change the feel of the whole space in a weekend, but only if the material fits the wall, the budget, and the skill level of the person installing it.
At Aureli Construction, we handle kitchen remodels across Cambridge, Belmont, Lexington, Somerville, Newton, Wellesley, Medford, Melrose, Wakefield, Burlington, Brookline, Brighton, Reading, Stoneham, and nearby Greater Boston towns. We've seen DIY backsplash projects go very well, especially when homeowners stay realistic about prep, layout, and cleanup. We've also seen simple jobs turn into full kitchen repair work when someone tiles over a greasy wall, runs combustible material too close to a cooktop, or assumes every peel-and-stick product will hold up behind steam and heat.
For many homeowners comparing kitchen backsplash ideas DIY, the appeal is obvious. Many weekend backsplash projects can be completed in an afternoon to a weekend, and DIY installation can cut costs by roughly 50% to 70% compared to professional installation, especially when labor is the main expense in a value-focused renovation according to this DIY backsplash guide. If you're also planning interior wall materials for your home, the backsplash is a good place to start thinking about durability, moisture, and finish quality.
Table of Contents
- 1. Classic Subway Tile Backsplash
- 2. Quick & Easy Peel-and-Stick Tile Backsplash
- 3. Modern Glass Tile Backsplash
- 4. Warm Shiplap or Beadboard Backsplash
- 5. Elegant Natural Stone Tile Backsplash
- 6. Creative Mosaic Tile Backsplash
- 7. Modern Geometric & Hexagon Tile Backsplash
- 8. Industrial Brick or Faux Brick Backsplash
- 8-Style DIY Kitchen Backsplash Comparison
- Ready to Start Your Kitchen Project in Greater Boston?
1. Classic Subway Tile Backsplash
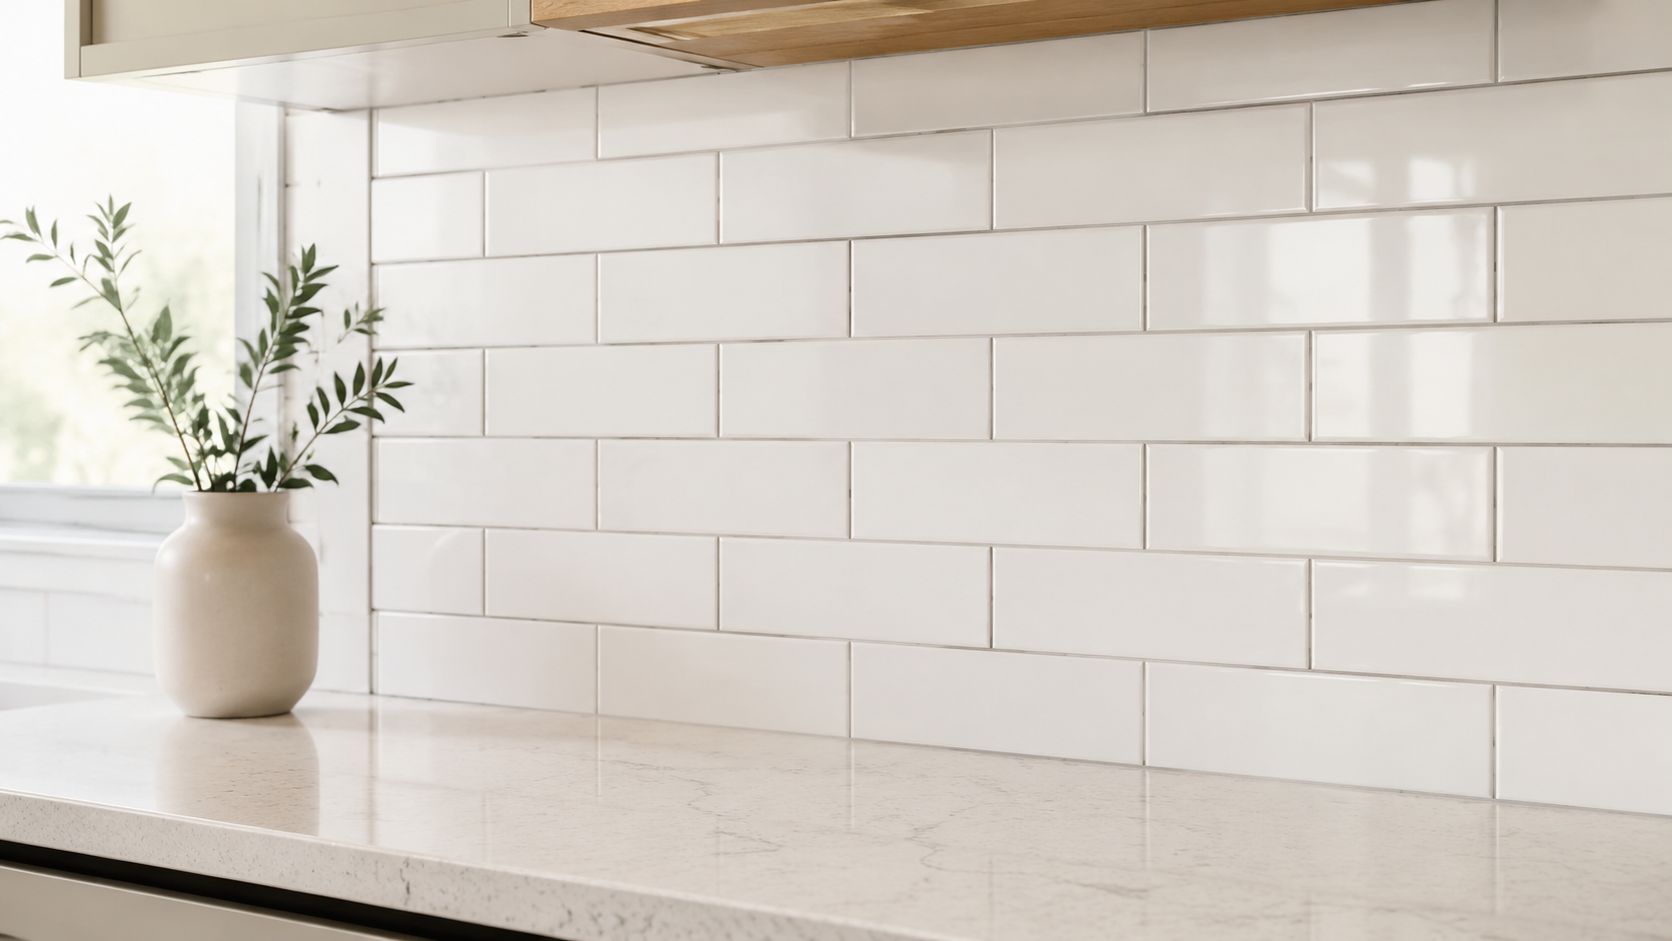
If a homeowner in Arlington or Belmont asks us for the safest first tile project, this is usually it. White 3×6 or 4×8 ceramic subway tile works in old colonials, updated condos, and full custom kitchen Arlington projects because it doesn't fight with the cabinets or counters.
It's also forgiving. Slight variation in tile edges or grout joints is less noticeable in a standard running bond than in a geometric pattern, which is why this style makes sense for a first backsplash before you attempt anything fancier in a kitchen renovation Medford or kitchen remodeling Lexington project.
Layout That Makes Subway Tile Look Professional
The wall prep matters more than people think. Bare drywall should be primed with a moisture-resistant primer, and your first course has to be dead level. Once the first row drifts, the whole backsplash looks amateur.
We recommend:
- Use spacers consistently: Keep grout joints even, typically around 1/8 inch for this look.
- Trowel correctly: A 1/4-inch notched trowel held around a 45-degree angle helps spread thin-set evenly.
- Plan the edges first: Try to avoid tiny slivers at the ends. Half-width or larger cuts usually look cleaner.
- Wait before grouting: Give the tile time to set before moving to grout, then protect the finish after cure.
Practical rule: A backsplash fails visually long before it fails structurally. Crooked layout lines are what people notice first.
Subway tile is one of the better places to save money with DIY because the labor on a professional tile backsplash nationally averages $10 to $15 per square foot, and a standard 30-square-foot backsplash can save a DIY homeowner about $300 to $600 in labor alone based on these installation labor figures. In our market, many homeowners use that savings to upgrade tile quality, under-cabinet lighting, or countertop details.
Before you pick bright white, warm gray, or contrasting grout, it's worth reviewing how to pick grout color. That choice changes the final look almost as much as the tile itself.
2. Quick & Easy Peel-and-Stick Tile Backsplash
Peel-and-stick backsplash products got popular for a reason. They're fast, clean, and they remove a lot of the usual barriers that stop homeowners from starting. For renters, condo owners, and anyone trying to improve a tired kitchen without wet saws or grout buckets, this is one of the most practical kitchen backsplash ideas DIY can offer.
The newer DIY market is heavily shaped by adhesive-backed systems and pre-assembled materials that turn installation into a simple glue, peel, and stick process without grout or complex cutting tools as shown in this DIY backsplash overview. That's why we see so many quick kitchen makeover services Somerville requests start with this option.
Where Peel-and-Stick Works Best in Greater Boston Kitchens
This material works best on flat, clean, dry walls. It's a good fit for apartments in Cambridge, smaller kitchen remodeling Somerville jobs, and temporary upgrades where the homeowner wants visual change without committing to demolition. It's also one of the few renter-friendlier choices when a landlord doesn't want permanent tile.
The catch is durability. There's a real information gap in the market. DIY guides present peel-and-stick and paint-over backsplashes as budget-friendly options, but there's very little backsplash-specific data on how often these materials peel, discolor, or fail in hot, steam-heavy kitchens over the following months, even though broader housing data suggests many low-cost DIY kitchen upgrades later need professional correction as noted in this discussion of DIY backsplash limitations.
A few install habits improve your odds:
- Degrease the wall fully: Kitchen residue breaks adhesive bonds fast.
- Start from a control line: Don't trust the countertop or cabinets to be perfectly level.
- Work from the center out: That helps reduce visible drift and trapped bubbles.
- Press firmly as you go: A plastic squeegee or even a stiff card helps seat the tile.
In a low-splash coffee bar or side wall, peel-and-stick can look great. Right behind a high-output range, we're much more cautious.
For homeowners searching kitchen remodeling near me in Medford, Arlington, or Stoneham, this is often the right short-term solution, not always the right long-term one.
3. Modern Glass Tile Backsplash
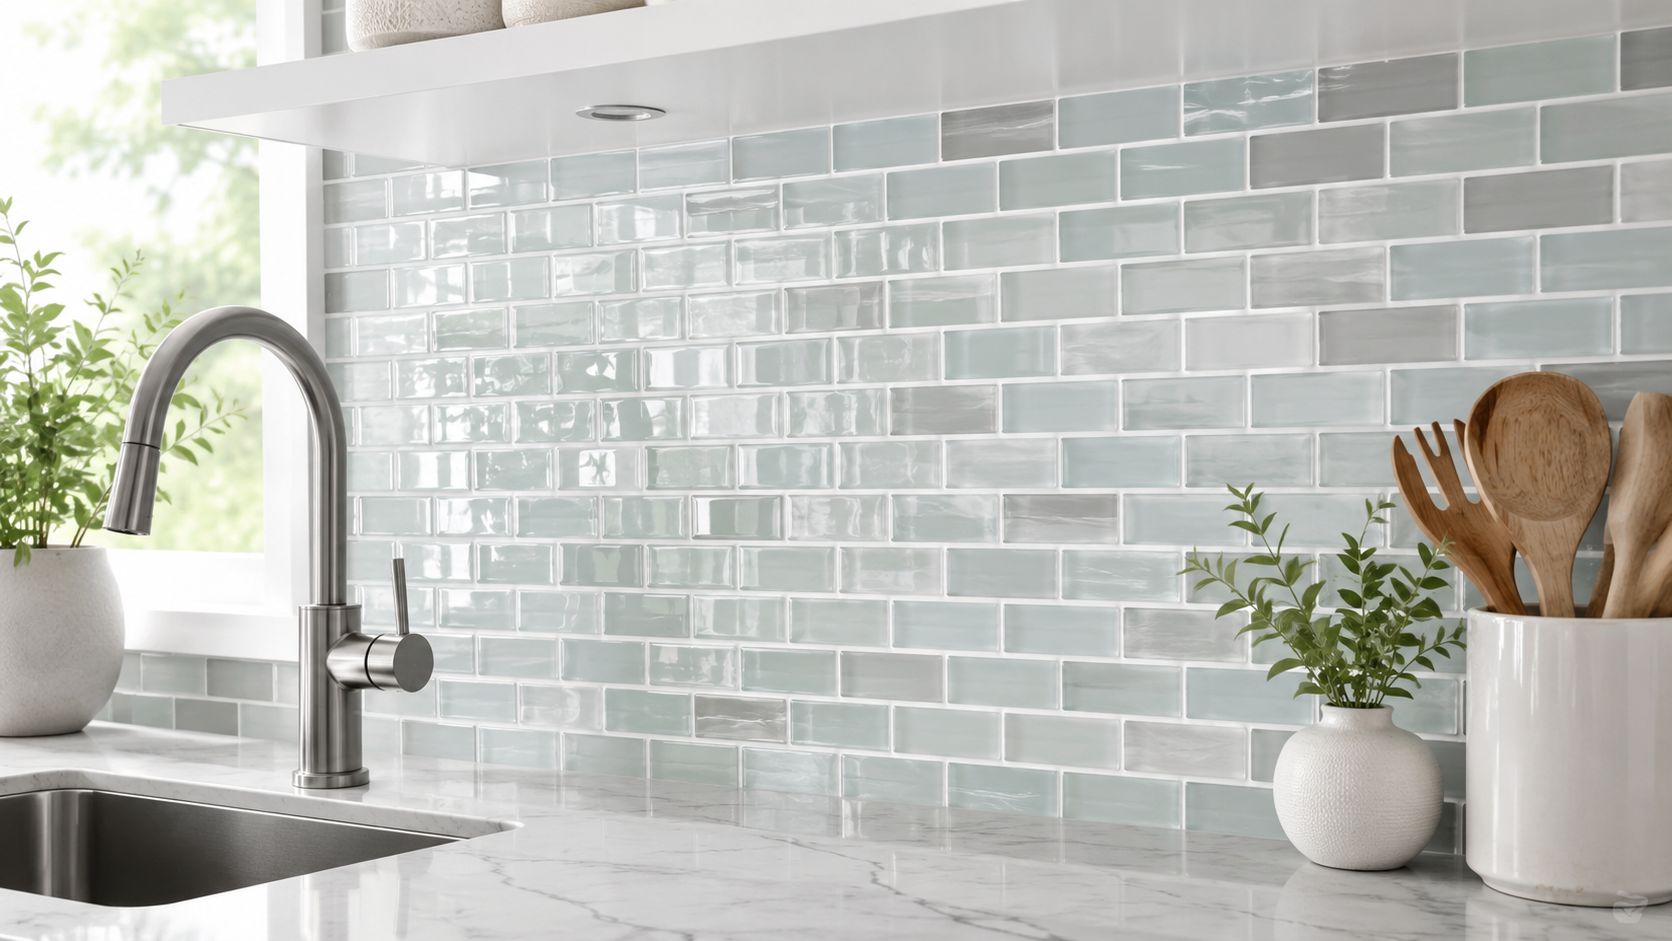
Glass tile looks clean, bright, and expensive when it's done right. In tighter kitchens in Cambridge and Brookline, it can help bounce light around the room, which is why many custom kitchen Wellesley and kitchen renovation Newton designs use it selectively around sink walls or coffee stations.
But it's less forgiving than ceramic. Every trowel line, uneven patch, or dark adhesive shadow can show through. That means the substrate has to be flatter, the mortar has to be right, and the cuts have to be cleaner.
What to Expect Before You Cut Glass Tile
If you're using glass, use white thin-set. Dark or inconsistent mortar can telegraph through the tile face. If you're buying mosaics, mesh-mounted sheets are the easiest way in because they reduce the need to place every small piece by hand.
We usually tell homeowners to think about glass tile this way:
- Best for careful DIYers: It rewards patience more than speed.
- Better in smaller areas: A sink run is easier than wrapping multiple walls.
- Worth dry-fitting first: You want to see where the cuts land before adhesive goes up.
Massachusetts code doesn't tell you to use glass tile specifically, but wet kitchen areas still need durable, water-resistant surfaces. Under 780 CMR and local inspection practice, the issue isn't style. It's whether the finish near sinks and cooking zones protects the wall assembly and can be cleaned properly. In many towns, that matters during broader kitchen remodeling permit work when electrical, plumbing, or wall changes are involved.
Glass tile is one of those materials that looks simple in the box and exposes every mistake on the wall.
If you're pairing a glossy backsplash with espresso or navy cabinets, these kitchen backsplash ideas with dark cabinets will help narrow the look before you start cutting.
4. Warm Shiplap or Beadboard Backsplash
Wood-look warmth has a place in kitchens, especially in Newburyport, Burlington, and older homes where homeowners don't want every finish to feel cold and hard. Beadboard and shiplap can work well on a breakfast wall, around open shelving, or in lower-splash zones where you want character without the cost or difficulty of tile.
We don't recommend treating wood-based backsplash material like a carefree shortcut. It installs easily, but it demands sealing and location awareness. Near a sink or range, that matters a lot more than the panel profile.
Sealing Matters More Than the Panel Style
When using beadboard or similar wood products in wet zones, the material should be sealed with a waterproofing sealer and finished with at least two coats of semigloss or gloss paint to reduce water absorption. One recommended approach is a one-to-one mix of white semigloss paint and water, brushed on twice for durability described in this backsplash finishing guide. Without that protection, wood near sinks or stoves can warp or stain quickly.
That's why our advice is simple:
- Prime and seal before install: Front, back, and edges.
- Use adhesive plus fasteners: Don't rely on brads alone.
- Keep combustibles away from direct cooktop exposure: Use a non-combustible insert where needed.
- Leave a small expansion gap: Wood moves with humidity.
For kitchen remodeling Burlington and kitchen remodeling melrose projects, this style works best when the home already leans farmhouse, coastal, or traditional. In a sleek custom kitchen Belmont, it can feel out of place unless it's balanced with stone or metal.
Massachusetts inspectors typically focus more on safe clearances and washable surfaces than on the decorative idea itself. If the backsplash sits within a permitted kitchen remodel that includes electrical relocation, venting, or structural work, we coordinate those inspections and finish details as part of the full job.
5. Elegant Natural Stone Tile Backsplash
Natural stone is where many DIY plans get more ambitious than the installer's patience. Marble, granite, slate, and other stone products can look excellent in a kitchen renovation Newton or custom kitchen Cambridge setting, but they aren't beginner materials in the same way ceramic subway tile is.
The main issue isn't just weight. It's porosity, variation, and maintenance. Stone can stain, darken, and absorb cooking residue if you don't seal it properly and keep up with that maintenance.
Stone Looks Better When You Respect Maintenance
Porous tile materials such as natural stone behind cooking areas need sealing to prevent oil absorption and staining, and sealers may need reapplication every 1 to 2 years in high-cooking households based on this tile sealing guidance. In homes with frequent gas cooking, that upkeep matters even more behind the range.
We usually steer DIY homeowners this way:
- Granite or slate is safer than marble: Less finicky in daily use.
- Dry-lay the tile first: Natural variation can look random if you don't plan it.
- Use white thin-set for light stone: It helps avoid discoloration.
- Seal before and after grouting: Especially on porous finishes.
A stone backsplash also has to work with the countertop visually. Busy granite plus dramatic mosaic marble often looks crowded, while honed stone with a simpler counter can feel clean and high-end. If you're sorting out that pairing, this guide to countertop materials cost helps homeowners compare the bigger finish package.
In Newton, Wellesley, and Lexington kitchens, we often see homeowners start with DIY stone plans and then hand off the install once they realize the wall isn't flat or the cuts around outlets are too visible to risk.
6. Creative Mosaic Tile Backsplash
You stand at the tile display, pick up a mosaic sheet, and it looks like an easy win. Then the main question hits. Will it still look good once it meets your outlets, cabinet lines, under-cabinet lights, and a weeknight of cooking splatter?
Mosaic can absolutely work in a DIY kitchen backsplash. We recommend it most often for homeowners who want more character than subway tile but do not want the weight, sealing needs, or cutting difficulty that come with some natural stone installs. In Belmont, Somerville, and Cambridge, it is a common choice in older homes where the kitchen needs a custom detail without a full custom tile layout.
What makes mosaic succeed is control. Sheet quality matters. Grout color matters. Wall flatness matters even more than many homeowners expect, because uneven drywall telegraphs through small tile faster than it does through larger formats.
Why Mesh-Mounted Mosaic Is Usually the Better DIY Choice
Mesh-mounted sheets save time and reduce layout errors. They let you set a repeated pattern across the wall without placing every piece by hand, which is the main reason mosaic is still realistic for a patient DIY homeowner.
We usually recommend mosaic in these situations:
- A stove accent area or full sink wall: You get texture where it reads clearly.
- Simple cabinet layouts: Mosaic adds interest fast, so the rest of the kitchen should stay visually calm.
- Homes where easy wipe-down matters: Choose the right grout and a flatter-faced mosaic, not a mix with significant texture that traps grease.
Field note: On mosaic, grout is part of the finished look. A slightly wrong grout color can change the whole wall more than the tile itself.
Mosaic often appeals in kitchen remodeling projects in Belmont or Medford because it feels custom without forcing a highly technical layout. The trade-off is maintenance and installation tolerance. Small tiles mean more joints, more cleanup during grouting, and more places for sloppy spacing to show.
We also tell homeowners to check the sheet edges before buying. Some low-cost mosaics have inconsistent spacing where one sheet meets the next, and that can create visible grid lines across the backsplash. Buy an extra sheet from the same lot when possible. Mixed glass, stone, or metal mosaics can vary in color and sheen enough that a later reorder may not match.
For Greater Boston DIYers, this is usually the line: a straightforward mosaic backsplash over a stable, flat wall is fair game. If the project includes a lot of outlet cuts, a wavy plaster wall, or tile running tight into windows and trim, the finish quality drops fast. In Massachusetts, simple backsplash tile work usually does not trigger a permit by itself, but once the project turns into new wiring, relocated outlets, or added under-cabinet lighting, it needs to follow MA electrical code and should involve a licensed electrician. That is where we often step in and keep a good DIY plan from turning into a patched-wall problem.
7. Modern Geometric & Hexagon Tile Backsplash
Hex tile, elongated hex, diamonds, and other geometric shapes look sharp in newer kitchens. They're especially popular in kitchen remodeling stoneham, kitchen remodeling wakefield, and kitchen renovation medford projects where homeowners want a cleaner, more contemporary look than classic brick-pattern subway.
The issue is alignment. These patterns don't hide drift well. If your layout starts off center or your rows creep, the whole wall starts to feel off, even if the cuts are technically acceptable.
The Pattern Is Only as Good as the Layout
This isn't where we'd tell a first-time DIYer to learn tile basics. It's where someone who already understands spacing, control lines, and outlet cuts can get a dramatic result.
A few habits matter:
- Dry-fit on the counter first: You need to see the pattern repeat.
- Use a laser or a strong level line: Don't eye it.
- Think about grout color early: Contrasting grout emphasizes shape. Matching grout softens it.
- Use sheet-mounted versions when possible: They reduce placement errors.
In Greater Boston, this style often looks best in homes with flatter-panel cabinets, slab doors, or minimal hardware. Put it in a heavily traditional kitchen with ornate counters and it can feel forced. In a custom kitchen Stoneham or kitchen remodeling near me search result where the homeowner wants a fresh, modern look, it can be a strong fit.
If your kitchen remodel includes moving outlets, adding lighting, or opening a wall, that's no longer just a backsplash project. In Massachusetts, those changes typically bring permit and inspection requirements into the job. We handle that coordination through the local building departments so the finish work isn't installed before rough electrical or plumbing inspections are complete.
8. Industrial Brick or Faux Brick Backsplash
Brick can look fantastic in the right house. In Cambridge and Somerville, where exposed masonry already shows up in some older buildings and conversions, a brick-style backsplash can feel natural instead of trendy.
The first decision is whether you want actual texture or just the look. Real brick veneer gives you depth and authenticity. Faux brick panels install faster, weigh less, and are much easier for a DIY homeowner to manage over a weekend.
Real Brick Versus Faux Brick in Somerville and Cambridge Kitchens
The full backsplash market keeps growing, with the global market valued at $4.2 billion in 2025, residential use accounting for 72.5% of that value, and projections reaching $6.8 billion by 2034 according to this market outlook. That broad growth lines up with what we see locally. Homeowners want more finish options, and brick-look materials are part of that mix.
What matters most on this style is maintenance:
- Seal porous masonry products: Especially before grout if you're using real veneer.
- Use a grout bag on real brick: It's cleaner than smearing mortar across the face.
- Choose indoor-safe finishes: Kitchen materials need to clean up well.
- Don't expect a perfectly smooth surface: Texture is the point, but it collects grease.
If you want industrial character without the upkeep, faux brick is usually the smarter DIY move.
For kitchen remodeling somerville or custom kitchen cambridge work, we often recommend using brick-look material selectively. One accent wall or the run behind open shelving can give the effect without making the whole kitchen harder to clean.
8-Style DIY Kitchen Backsplash Comparison
| Backsplash Type | Implementation Complexity 🔄 | Resources & Cost ⚡ | Expected Outcomes ⭐📊 | Ideal Use Cases & Key Advantages 💡 |
|---|---|---|---|---|
| Classic Subway Tile Backsplash | Beginner–Intermediate; 1–3 days; requires basic tile/grout skills | Moderate tools (wet saw rental, notched trowel); $400–$800 total | ⭐ Timeless, versatile; good durability; grout requires regular maintenance 📊 | Great starter DIY; suits modern & traditional kitchens; forgiving pattern |
| Quick & Easy Peel-and-Stick Tile Backsplash | Beginner; 2–4 hours; no mortar or grout | Minimal tools (utility knife, level); $150–$350 materials | ⭐ Fast visual upgrade; removable; lower long-term durability near heat/humidity 📊 | Renters or same-day makeovers; zero-mess, low-skill install |
| Modern Glass Tile Backsplash | Intermediate–Advanced; 2–4 days; careful handling & epoxy grout | Higher cost; $600–$1,500+; white thin-set, epoxy grout, glass blade | ⭐ Bright, reflective, high-impact; non-porous tiles but fragile; higher waste 📊 | Contemporary, light-enhancing kitchens; premium modern aesthetic |
| Warm Shiplap or Beadboard Backsplash | Beginner–Intermediate; 1–3 days plus sealing/dry time | Basic carpentry tools (saw, nail gun), sealant; $250–$600 materials | ⭐ Warm, rustic look; repaintable; must be sealed for moisture resistance 📊 | Farmhouse/cottage styles; quick install and easy future updates |
| Elegant Natural Stone Tile Backsplash | Advanced; 3–5 days; heavy, precise installation & sealing | High cost; $1,200–$2,500+; reinforced substrate, sealers, professional tools | ⭐ Luxury, unique patterns; high resale value; porous stones need resealing 📊 | High-end remodels seeking timeless, value-adding finishes |
| Creative Mosaic Tile Backsplash | Intermediate; 3–5 days depending on complexity | Mid–high cost; $800–$1,800+; mesh sheets, epoxy/urethane grout | ⭐ Highly customizable, dramatic focal point; many grout lines to maintain 📊 | Accent walls or artistic kitchens; custom, high-visual-impact designs |
| Modern Geometric & Hexagon Tile Backsplash | Intermediate; 2–4 days; precise layout and cutting | Moderate tools (wet saw recommended), $550–$1,200 materials | ⭐ Pattern-forward, contemporary look; alignment errors are conspicuous 📊 | Modern/transitional kitchens; statement-making pattern with depth |
| Industrial Brick or Faux Brick Backsplash | Intermediate; 2–4 days; sealing for real brick | Variable cost $400–$900; masonry sealer or faux panel tools | ⭐ Textured, warm industrial look; real brick is porous and needs sealing 📊 | Industrial or rustic designs; authentic texture (real) or fast install (faux) |
Ready to Start Your Kitchen Project in Greater Boston?
Whether you're doing a quick peel-and-stick update in a Somerville condo or installing classic subway tile in a Lexington single-family home, the best DIY backsplash projects start with honest expectations. The material has to match the wall condition, the kitchen use, and your tolerance for layout work. If you pick the right scope, a backsplash really can be one of the smartest weekend upgrades in the house.
There's also a clear line between a true DIY finish job and a remodel that needs a licensed contractor. If you're only covering a clean wall with an appropriate backsplash material, that's one thing. If the project includes moving outlets, adding under-cabinet lighting, changing plumbing, opening walls, replacing damaged substrate, or tying the backsplash into a broader kitchen remodel Greater Boston project, it's time to bring in a pro.
In Massachusetts, 780 CMR and local inspection practices matter anytime the backsplash work sits inside a larger permitted renovation. We regularly handle building permit coordination, electrical and plumbing permit scheduling, rough inspections, and final inspections across Arlington, Belmont, Cambridge, Lexington, Medford, Melrose, Newton, Reading, Somerville, Stoneham, Wakefield, Wellesley, Burlington, Brighton, Brookline, and nearby towns. Homeowners usually don't need help picking between white grout and gray grout. They do need help when a simple backsplash uncovers bad drywall, code-related outlet issues, or finish details that affect the long-term durability of the kitchen.
That's where our process helps. We design the scope, flag the problem areas early, and tell homeowners plainly what's worth doing themselves and what isn't. If you're comparing kitchen remodeling contractor Medford options, planning a custom kitchen Belmont upgrade, or searching for kitchen remodeling near me in Arlington, Lexington, Newton, or Wellesley, we can step in at whatever level makes sense. Some clients want a full design-build kitchen renovation. Others just want us to correct a failed backsplash install and finish the room properly.
A backsplash is often the first visible upgrade in a kitchen. It can also be the first sign that the whole room is ready for better lighting, better layout, and better materials. If your project is moving in that direction, Aureli Construction is ready to help.
Ready to move beyond browsing kitchen backsplash ideas DIY and make a solid plan for your home? Contact Aureli Construction for a free estimate. We're a Massachusetts licensed general contractor serving Greater Boston homeowners with kitchen remodels, home additions, bathroom renovations, basement finishing, and ADU construction.