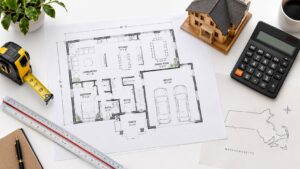
A Cambridge homeowner planning a bathroom renovation in the next one to three months has more to coordinate than tile samples and a new vanity. The safest path runs from defining the scope and reviewing existing conditions to setting the budget, completing the design, securing permits, controlling demolition, passing rough inspections, protecting the room from moisture, installing finishes, and completing final sign-off. That sequence matters in Cambridge, Arlington, and every older Greater Boston home where concealed plumbing, electrical, framing, and ventilation conditions can change the work.
This bathroom renovation checklist is written for homeowners comparing contractors before hiring. It explains how Massachusetts building codes, 780 CMR, local building departments, zoning review where applicable, trade coordination, and the inspection process affect the project. Aureli Construction is a Massachusetts licensed general contractor based in Cambridge, serving Belmont, Brighton, Brookline, Burlington, Cambridge, Lexington, Medford, Melrose, Newburyport, Newton, Reading, Somerville, Stoneham, Wakefield, and Wellesley, MA.
If you're also planning a broader project, our teams coordinate bathroom remodeling services, kitchen remodeling, home additions, basement finishing, and ADU construction under the same permit and construction process. For another useful perspective, review this step-by-step bathroom remodel guide before demolition begins.
Table of Contents
- 1. Obtain Building Permits and Schedule Initial Inspections in Cambridge MA
- 2. Establish a Greater Boston Budget Before Signing
- 3. Create the Design Plan and Select Materials in Medford MA
- 4. Assess Existing Plumbing, Electrical, and Structural Conditions
- 5. Schedule Demolition and Set Site Safety Rules in Cambridge MA
- 6. Complete Rough Framing, Plumbing, and Electrical Work in Newton MA
- 7. Install Moisture Protection and Prepare the Surfaces
- 8. Install Fixtures and Final Mechanical Systems in Wellesley MA
- 9. Install Tile, Flooring, Finishes, and Paint in Lexington MA
- 10. Complete Final Inspections and Close Out the Project in Greater Boston
- 10-Step Bathroom Renovation Checklist Comparison
- Finish Strong with a Complete Bathroom Handover
1. Obtain Building Permits and Schedule Initial Inspections in Cambridge MA
Before demolition, determine which permits the project requires. Bathroom work that changes plumbing, electrical wiring, ventilation, framing, windows, or the layout commonly involves more than a finish permit. Massachusetts projects must comply with the applicable MA State Building Code, 780 CMR, along with plumbing, electrical, mechanical, energy, and other requirements identified by the local building department. A California residential bathroom guide illustrates the broader multi-code nature of this work, listing building, electrical, plumbing, energy, green, and mechanical requirements for bathroom remodeling in its municipal guide.
A Cambridge bathroom remodel may require a building permit plus separate electrical and plumbing permits. In Wellesley, expanding the footprint, changing exterior openings, or adding egress can bring zoning review into the process. In Medford, removing a load-bearing wall may require structural documentation, including an engineer's design where the building department requires it.
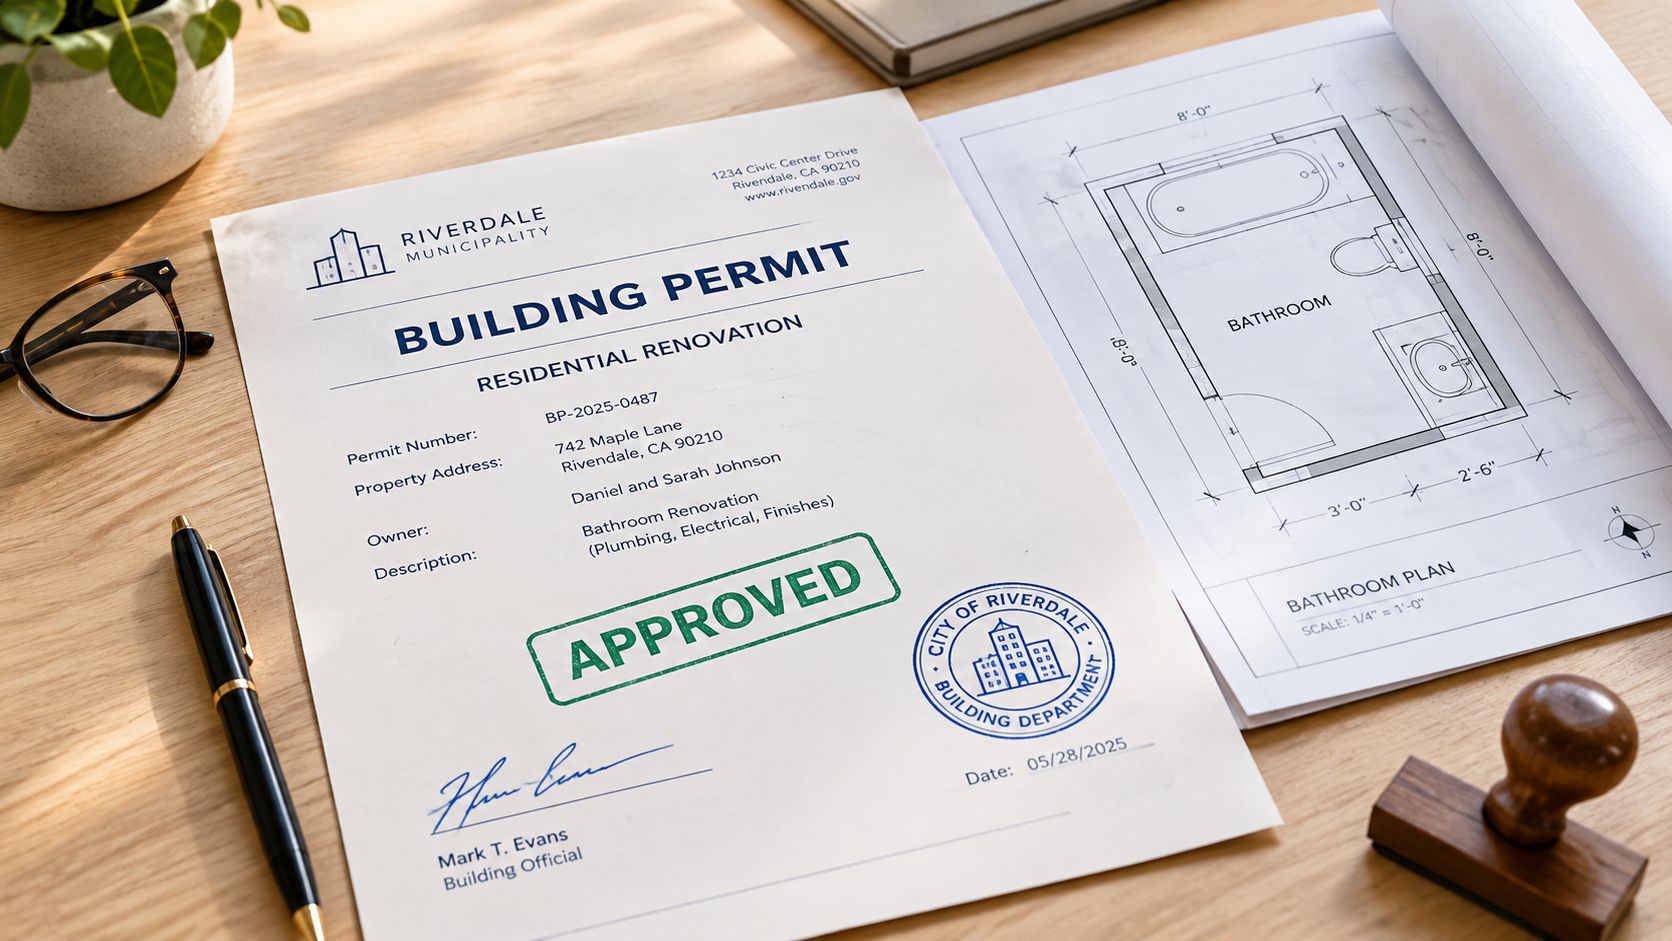
Our team prepares the drawings, coordinates with the municipality, and identifies rough and final inspection points before work starts. Homeowners who are researching bathroom remodel permit requirements should also ask who will pull each permit and who will schedule the inspector.
Practical rule: Don't close a wall, ceiling, or shower assembly until the required rough inspection has passed and the work has been documented.
2. Establish a Greater Boston Budget Before Signing
Bathroom pricing depends on scope, existing conditions, fixture quality, tile labor, plumbing changes, waterproofing, electrical work, and access to the work area. National benchmarks show why homeowners shouldn't treat a bathroom as one fixed-price category. The 2025 Houzz U.S. Bathroom Trends Study reported a median renovation spend of $13,000 in 2024, compared with $15,000 in 2023, while HIRI's 2025 Project Decision Study reported average spending of $12,061 and a median of $7,800 through the HIRI market discussion. Those figures describe different samples and measures, so they aren't a quote for a Greater Boston project.
For local planning, a modest Somerville refresh with paint, fixtures, and a toilet replacement may fall around $8,000 to $12,000, while a Newton renovation with new tile, fixtures, and plumbing can run approximately $25,000 to $35,000. A Lexington primary-bath upgrade with heated floors, a spa shower, and marble may reach $40,000 to $60,000. These are planning ranges, not bids. A site visit and written scope are necessary before relying on them.
Protect the budget from hidden scope
Keep an allowance for concealed damage, outdated wiring, deteriorated subfloor, and required code corrections. Don't use a low bid that omits permits, waterproofing, finish carpentry, protection of adjacent rooms, or final inspections.
Before signing, compare detailed estimates from licensed contractors and ask:
- Scope clarity: Does the proposal identify demolition, disposal, framing, plumbing, electrical, ventilation, waterproofing, tile, painting, fixtures, and cleanup?
- Selection allowances: Are vanity, tile, plumbing fixtures, lighting, and glass allowances realistic for what you intend to buy?
- Change orders: Does the contract explain how concealed conditions and homeowner-requested changes will be priced and approved?
- Cash planning: If you're using a HELOC or another lending option, arrange it before construction rather than after a problem appears. Our home addition financing guide provides related planning considerations.
3. Create the Design Plan and Select Materials in Medford MA
A bathroom design becomes useful when another person can build from it without guessing. The plan should show the floor layout, fixture locations, door swings, clearances, lighting, switches, receptacles, plumbing rough-ins, ventilation route, storage, tile extents, niches, shower controls, and finish transitions. Those decisions need to be coordinated before permit drawings are submitted.
In Cambridge, a period home may require a design that respects existing proportions or historic-district expectations if exterior work is involved. A Medford primary bath may benefit from a low-threshold shower, a handheld shower, future grab-bar backing, and adequate clear floor space. In Wakefield, a compact powder room may gain more usable storage from a wall-mounted toilet and shallow vanity than from a larger decorative fixture.
Browse materials in person. A tile that looks calm on a screen may feel too textured underfoot, and a vanity depth that works in a showroom may obstruct a door swing at home. We recommend finalizing the layout before choosing statement tile, because the room's function determines how much surface area, storage, and circulation remain available.
Make the technical selections early
Choose the exhaust fan, light locations, shower valve, mixing valve, drain, toilet, vanity, mirror, towel bars, and accessories while the walls are still open. If a floating vanity, wall-mounted toilet, or grab bars are planned, the framing must include solid backing before drywall.
For design inspiration focused on comfort and function, see Aureli Construction's spa-inspired bathroom design. The best design is not the one with the most expensive finishes. It's the one that gives the household reliable storage, comfortable lighting, manageable cleaning, and durable moisture control.
4. Assess Existing Plumbing, Electrical, and Structural Conditions
A bathroom can look serviceable while the systems behind the finishes are close to failure. During the assessment, inspect supply lines, drains, shutoffs, venting, wiring, framing, subfloor, insulation, and signs of prior leaks. Open a small strategic area when necessary, but recognize that demolition is often the only way to confirm concealed conditions.
Older Greater Boston homes may contain galvanized plumbing, obsolete wiring, poorly supported drains, patched framing, or inadequate ventilation. A Somerville Victorian could require replacement of outdated plumbing and wiring. A Lexington ranch may need electrical-service work before adding heated floors or new lighting. In Brookline, water staining or soft framing around a tub can signal damage that should be repaired before the new wall system goes in.
Water pressure and drainage behavior also matter. A slow drain, inconsistent shower pressure, or a toilet that doesn't clear properly may point to a system issue rather than a fixture problem. Photographing existing conditions helps the design and permit record, and written repair allowances keep the homeowner from making an uninformed decision after demolition.
Don't spend the full budget on visible finishes before confirming that the floor, walls, plumbing, electrical system, and ventilation can support them.
Separate known work from concealed risk
A responsible proposal distinguishes confirmed repairs from allowances for conditions that can't be seen. Ask whether the contractor has included subfloor repair, framing correction, mold or lead-safe procedures, and access repairs. If lead paint, mold, or another regulated hazard is found, stop the affected work and use properly qualified remediation professionals before continuing.
5. Schedule Demolition and Set Site Safety Rules in Cambridge MA
Demolition should expose the work without damaging areas that aren't part of the scope. Protect hallways, stairs, flooring, doors, HVAC openings, and nearby rooms with appropriate containment. Establish the location of debris, the route workers will use, water shutoff procedures, and the temporary bathroom plan before the first fixture is removed.
Older homes deserve an early hazard review. A Cambridge home from the 1970s may have asbestos-containing pipe wrap or other suspect materials. A Wellesley home from the 1950s may contain lead-painted surfaces. For homes built before 1978, use lead-safe work practices and qualified contractors when painted surfaces will be disturbed. Request asbestos and lead evaluations before demolition rather than waiting for a crew to discover questionable material.
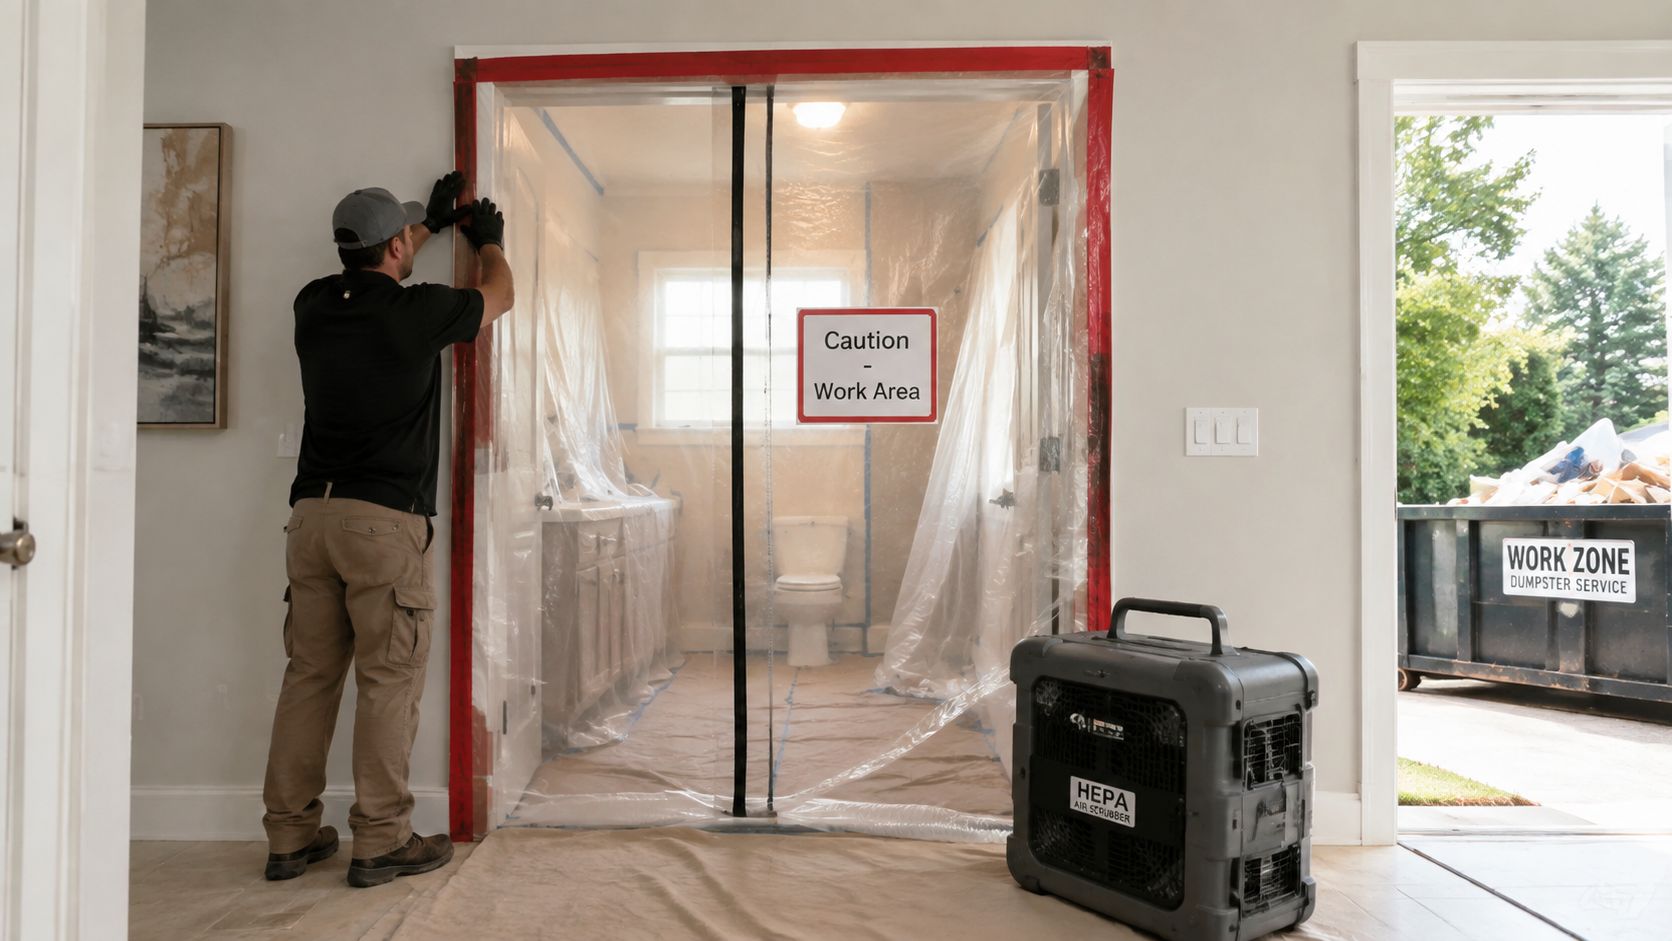
Unexpected findings are common. A Stoneham renovation may uncover rot under the subfloor, a leaking drain, or framing that can't support the planned shower. The correct response is to pause, document the condition, explain the repair options, and obtain written approval before adding work. Homeowners comparing an average bathroom demo price should remember that disposal, containment, protection, and hazardous-material procedures can change the demolition scope.
Keep an occupied home workable
Agree on daily work hours, entry procedures, dust control, pet safety, and where materials will be stored. If the bathroom is the only one in the house, arrange access to another facility before water service is interrupted. Clear communication won't eliminate disruption, but it prevents avoidable surprises.
6. Complete Rough Framing, Plumbing, and Electrical Work in Newton MA
Once demolition is complete and the permit path is clear, the project moves behind the walls. Framing establishes shower dimensions, niches, blocking, door clearances, vanity support, and ceiling openings. Plumbing crews install supply lines, drains, traps, and vent connections. Electricians install circuits, boxes, switches, receptacles, lighting wiring, and exhaust-fan wiring.
Layout decisions become physical. A Newton project may reveal inadequate water pressure when the new shower is tested. In Medford, an existing drain may have an incorrect slope and require replumbing. A Reading bathroom addition may need structural posts, a properly coordinated vent stack, and a dedicated circuit for heated flooring.
Coordinate the rough inspection
Schedule framing, plumbing, and electrical inspections when the work is visible and accessible. The inspector may need to see pipe support, nail protection, wiring methods, blocking, boxes, venting, and framing conditions. Take photographs before insulation and drywall conceal the work, and keep them with the permit file.
Drainage requires proper slope, fixture clearances must match the approved plan, and wet-location receptacles need appropriate GFCI protection. Don't rely on a tile installer to correct a rough-in that was positioned incorrectly. Confirm the vanity, toilet, shower valve, niche, light, mirror, and fan locations against the actual products before walls close.
Rough-in is the last inexpensive moment to move a pipe, add backing, or correct a box location. Treat it as a decision checkpoint, not a formality.
7. Install Moisture Protection and Prepare the Surfaces
Tile isn't waterproof by itself. The shower assembly needs a properly installed waterproofing system, including the shower pan, corners, penetrations, curb or curbless transition, niches, and connections to adjacent surfaces. Exterior walls also need coordinated insulation and air sealing, especially in a New England climate where cold surfaces can promote condensation.
For a shower, use the waterproofing method specified for the system, whether that's a sheet membrane, liquid-applied membrane, or approved waterproof backer assembly. Cement board is suitable in many wet-zone applications when installed and waterproofed correctly. Moisture-resistant drywall can work in appropriate dry areas, but it shouldn't be treated as a substitute for a complete shower waterproofing system.
Ventilate to the exterior
Massachusetts requires bathrooms with a bathtub or shower to have mechanical exhaust ventilation. An openable window doesn't replace that requirement, and the exhaust must discharge directly outdoors rather than into an attic or another interior space under the Massachusetts building code. Plan the fan, duct route, wiring, exterior termination, and insulation before drywall and tile close the ceiling.
The same principle applies to penetrations. Seal around pipes, electrical boxes, vents, and framing transitions. Keep drywall off the floor, protect fasteners from corrosion in wet areas, and confirm that the substrate is flat before setting tile.
8. Install Fixtures and Final Mechanical Systems in Wellesley MA
Fixture installation should follow the approved rough-in, not force the rough-in to accommodate products purchased at the last minute. Confirm the actual dimensions of the toilet, vanity, sink, faucet, shower trim, glass, mirror, lighting, and accessories before ordering. A small difference in faucet reach or vanity depth can affect clearances and backsplash details.
A Wellesley bathroom with a floating vanity needs structural backing installed before drywall. A Reading renovation can move efficiently when fixtures are selected and available before the installation phase. Delayed shower glass, a missing faucet trim kit, or an out-of-stock vanity can hold up final completion even when the rest of the room is ready.
Treat ventilation as a mechanical system
Massachusetts code requires artificial light in every bathroom and toilet room, so lighting and wiring need to be complete before final inspection as stated in the applicable Massachusetts code reference. A room shouldn't depend on daylight alone, and the lighting plan should distinguish between general illumination, mirror lighting, and shower-area lighting where applicable.
If fuel-fired equipment is located near the bathroom, confirm that the renovation doesn't interfere with combustion air. Massachusetts references restrict fuel-fired appliances from obtaining combustion air from bathrooms and toilet rooms in many circumstances, with limited exceptions for properly designed outdoor-air enclosures under the combustion-air provisions.
Test every fixture for leaks, drainage, shutoff operation, and hot-water delivery. Confirm that receptacles have required protection, grab-bar backing is solid, and the exhaust duct is sealed and terminated outside.
9. Install Tile, Flooring, Finishes, and Paint in Lexington MA
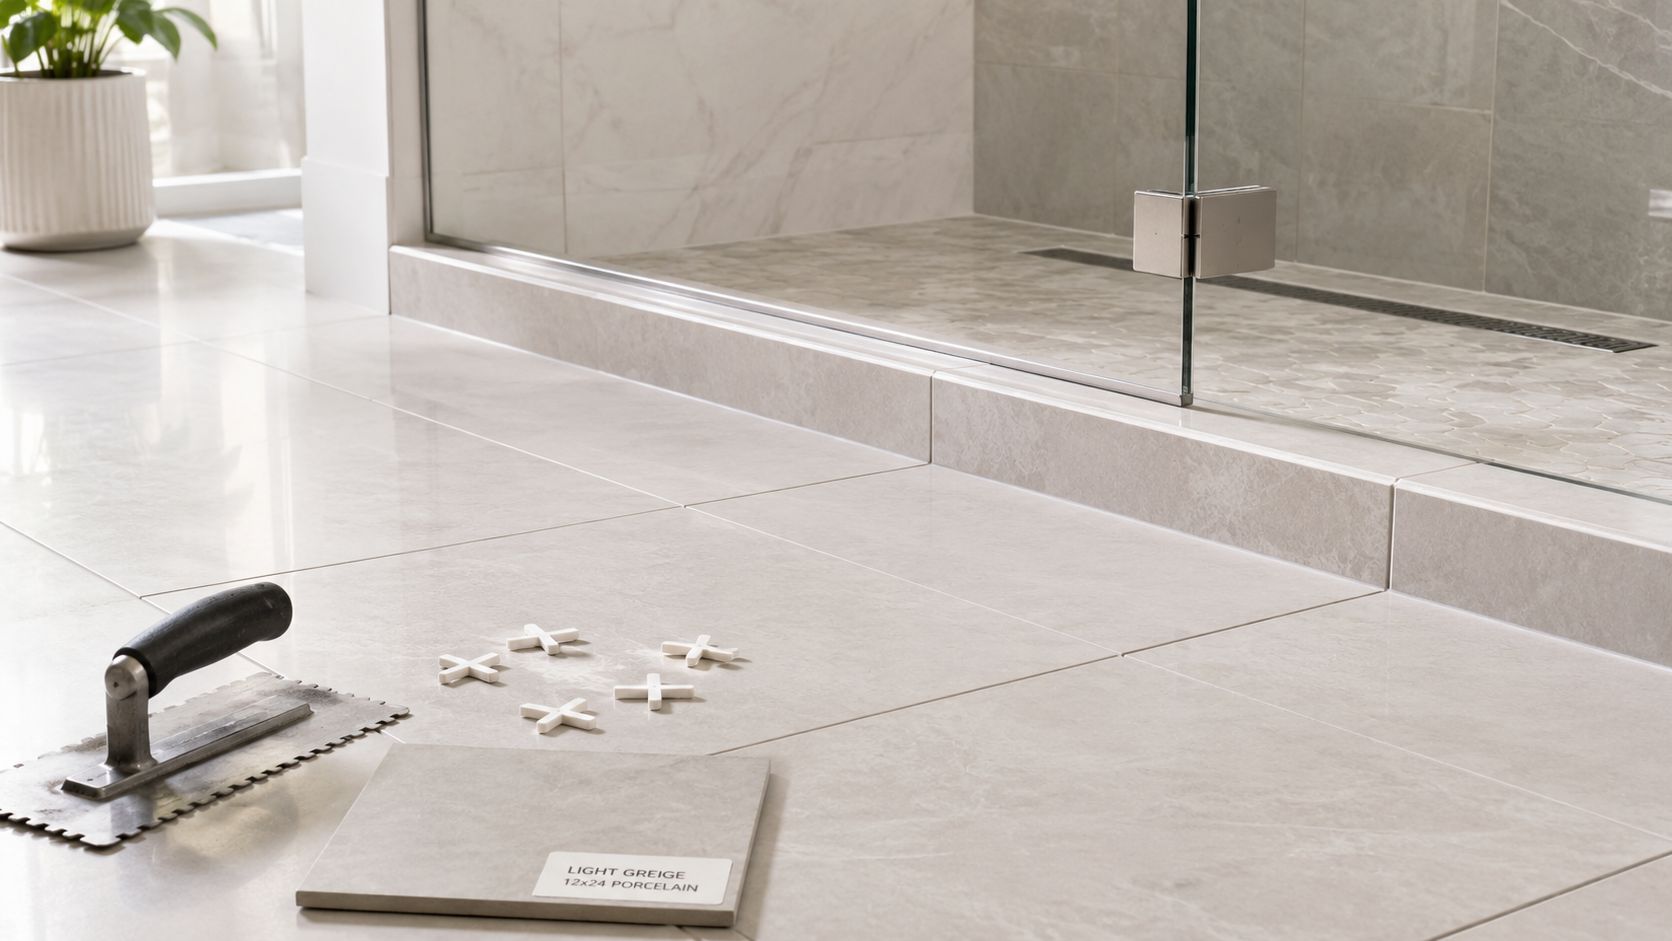
Finish materials should support the construction underneath them. Tile needs a sound, flat substrate, the correct mortar, movement accommodation, and properly treated transitions. Shower floors need positive drainage, and corners, changes of plane, and penetrations should be caulked with a flexible sealant rather than filled only with rigid grout.
Porcelain is a practical choice for many floors and walls because it handles bathroom use well. Natural stone can create a distinctive look but may require more maintenance and sealing. Ceramic can be economical, but the product and installation must suit the location. For New England bathrooms, choose flooring with appropriate slip resistance and paint formulated for humid interior spaces.
A Lexington bathroom might pair porcelain floor tile with marble wall tile and a glass shower surround. A Medford renovation may benefit more from a textured slip-resistant ceramic floor that reduces pooling and is easy to maintain. A Somerville powder room can create visual impact with an accent pattern and a durable satin or semi-gloss wall finish without expanding the plumbing scope.
Make maintenance part of the selection
Grout color, joint width, tile texture, countertop material, and caulk color affect cleaning and future repairs. Avoid choosing a finish solely because it photographs well. Review transitions to the hallway, baseboards, toilet flange height, door trim, and shower-glass requirements before finalizing the tile pattern. Homeowners doing their own final touch-up can also review this guide on how to paint a bathroom vanity.
10. Complete Final Inspections and Close Out the Project in Greater Boston
The final inspection confirms that permitted work is complete and that the room can be closed out with the local building department. Depending on the scope and municipality, final building, plumbing, and electrical inspections may all apply. The inspector may review fixture installation, GFCI protection, lighting, ventilation, finishes, safety features, and corrections noted during earlier inspections.
Schedule final inspections early enough to address deficiencies without extending the project unnecessarily. Once the municipality signs off, keep the permit record and any required certificate or approval documentation with the home's permanent files. Final payment should follow the contract terms and completion of the agreed work, including inspection sign-off and the punch list.
Use the walkthrough to test the room
Turn on every light and switch. Run the shower and sink together, check hot and cold operation, flush the toilet, inspect drains, operate the fan, test receptacles, check cabinet doors and drawers, and look closely at tile edges and caulk joints. Confirm that doors swing freely and that accessories are anchored securely.
Request:
- Closeout documents: Permit records, inspection approvals, product information, and any available as-built photographs.
- Warranty details: Written warranty terms for workmanship, fixtures, finishes, and manufacturer products.
- Maintenance guidance: Instructions for cleaning tile, resealing applicable materials, replacing filters, and maintaining caulk.
- Punch-list completion: A written record showing which corrections were made and which items remain outstanding.
10-Step Bathroom Renovation Checklist Comparison
| Task | Implementation Complexity 🔄 | Resources & Timeline ⚡ | Expected Outcomes ⭐ | Ideal Use Cases 📊 | Key Advantages & Tips 💡 |
|---|---|---|---|---|---|
| Obtain Building Permits and Schedule Initial Inspections with Local Building Department | High, coordination with municipal reviewers and plan stamps 🔄 | Administrative effort, permit fees $300–$800; 2–8 weeks for approvals ⚡ | Legal compliance, inspection scheduling, reduced sale/risk issues ⭐⭐⭐⭐ | Any remodel with plumbing, electrical, or structural changes 📊 | Prevents fines; start applications 6–8 weeks early; have contractor pull permits 💡 |
| Establish Budget and Secure Financing or Home Equity Line of Credit | Moderate, financial planning and lender coordination 🔄 | Low physical resources; obtain estimates; financing lead times vary; include 10–15% contingency ⚡ | Controlled spending, fewer scope changes, financing in place ⭐⭐⭐⭐ | Full bathroom remodels, high-cost upgrades, financed projects 📊 | Get 3 estimates; lock material prices; budget contingency 10–15% 💡 |
| Create Detailed Design Plan and Material Selections | Moderate–High, design and code integration, shop drawings 🔄 | Designer fees $1.5k–$3.5k; 2–4 weeks; samples and revisions required ⚡ | Clear construction specs, fewer change orders, code-aligned plans ⭐⭐⭐⭐ | Complex layouts, historic districts, accessibility or custom finishes 📊 | Finalize design before permits; use 2D/3D plans to streamline bidding 💡 |
| Assess Existing Plumbing, Electrical, and Structural Condition | Moderate, inspections and testing, possible specialist work 🔄 | Inspection costs $200–$500; 1–2 weeks; potential major upgrade costs ⚡ | Identifies hidden defects, accurate budgets and safer designs ⭐⭐⭐⭐ | Older homes, unknown systems, pre-1978 properties 📊 | Hire professional inspector; budget for replumbing/electrical if found 💡 |
| Schedule Demolition and Establish Site Safety Protocols | Moderate, containment, hazardous-material coordination 🔄 | Demo and disposal $500–$1,500; hazmat abatement $1,500–$5,000+; 1–2 weeks ⚡ | Safe removal of hazards, contained site, ready for rough-in ⭐⭐⭐ | Full-gut renovations or homes with suspected asbestos/lead 📊 | Test for asbestos/lead 2–3 weeks prior; use licensed abatement contractors 💡 |
| Complete Rough Framing, Plumbing, and Electrical Installation | High, multi‑trade coordination and code-compliant rough-ins 🔄 | Skilled trades, 1–2 weeks for rough-in; inspection required before concealment ⚡ | Structural and MEP systems ready; required municipal sign-off ⭐⭐⭐⭐ | Layout changes, plumbing relocations, additions requiring new circuits 📊 | Photograph rough-in, schedule inspections promptly, confirm drain slope and GFCI protection 💡 |
| Install Waterproofing, Vapor Barriers, Insulation, Drywall, Cement Board, and Prepare Surfaces for Finishes | Moderate–High, precision workmanship to control moisture 🔄 | Materials/labor $2k–$4k; waterproofing 5–7 days; drywall 1–2 weeks ⚡ | Long-term moisture protection, energy efficiency, durable substrate ⭐⭐⭐⭐ | Shower/tile installations, coastal or high-humidity homes 📊 | Use proper membranes, vent to exterior, specify mold-resistant drywall and correct pan slope 💡 |
| Install Fixtures, Hardware, and Final Mechanical Systems (HVAC, Ventilation) | Moderate, finish‑trade coordination and final hookups 🔄 | Fixture lead times 2–3 weeks; skilled installers for plumbing/electrical ⚡ | Fully functional systems, tested ventilation, and finished hardware ⭐⭐⭐⭐ | Final stages of any remodel or mechanical upgrades 📊 | Order fixtures early; verify rough-in dimensions and exhaust CFM; ensure GFCI protection 💡 |
| Install Tile, Flooring, Finishes, and Paint | Moderate, skilled tiling and finish labor with attention to substrate 🔄 | Tile/flooring $4k–$10k+; skilled labor; 1–2+ weeks depending on scope ⚡ | Durable, moisture-resistant finishes and high visual impact ⭐⭐⭐⭐ | Cosmetic upgrades, high-use bathrooms, spa conversions 📊 | Use epoxy/urethane grout in wet zones; select slip‑resistant flooring; test for lead in older homes 💡 |
| Conduct Final Inspections, Address Corrections, and Close Out Project | Low–Moderate, administrative closeout and punch-list work 🔄 | Administrative time; possible rework adds 1–2 weeks; final documentation required ⚡ | Certificate of occupancy/final approval, warranties, as‑built records ⭐⭐⭐⭐ | Any permitted renovation nearing completion 📊 | Do not make final payment until final sign-off; schedule final inspection early in close-out week; keep as-built docs 💡 |
Finish Strong with a Complete Bathroom Handover
A successful bathroom renovation follows a construction sequence, not a shopping sequence. Start by defining what isn't working, decide whether the layout needs to change, and establish a budget that reflects Greater Boston labor, materials, permits, and existing conditions. Then complete the design, select products early, inspect plumbing and electrical systems, and identify structural or moisture risks before demolition.
After permits are secured, controlled demolition should expose the work without putting the rest of the home at risk. Rough framing, plumbing, electrical, and mechanical work must remain accessible for inspection. In Massachusetts, bathroom work is governed by more than appearance. 780 CMR, plumbing and electrical requirements, ventilation rules, moisture-control practices, and local inspection procedures all shape the final result.
The market data supports planning for a wide range rather than assuming one standard bathroom price. Houzz reported a $13,000 median bathroom renovation spend in 2024, while HIRI reported $12,061 in average spending and a $7,800 median in its 2025 project decision discussion. In major U.S. metros, costs can be substantially higher. One 2026 market report placed Boston in a high-cost tier, with mid-range bathroom remodels around $24,000 to $46,000, described as about 52% above the national average in its market analysis. Use those figures as context, not as a substitute for a project-specific estimate.
Homeowner handover checklist
Before considering the work complete, verify that:
- Fixtures operate correctly: Test faucets, drains, shower controls, toilet flushing, shutoffs, and hot-water delivery.
- Ventilation works properly: Confirm the fan operates at a low volume for regular use and discharges outdoors.
- Moisture protection is complete: Inspect caulk at corners, transitions, the tub or shower perimeter, and plumbing penetrations.
- Lighting and outlets function: Test every switch, fixture, and GFCI-protected receptacle.
- The punch list is finished: Walk the room in daylight and record damaged, incomplete, or poorly aligned work.
- Documents are organized: Keep permits, final inspection approvals, product manuals, warranties, and as-built photographs.
- Municipal sign-off is complete: Don't treat a clean-looking room as finished until the required final inspections have passed.
Bathroom renovations also deliver value through comfort and daily use. A 2025 U.S. remodeling report recorded bathroom renovation Joy Scores from 9.6 to 9.8 out of 10, with 84% reporting a greater desire to be at home, 69% enjoying the space more, and 69% feeling a strong sense of accomplishment through the reported remodeling findings. Those results reinforce a practical priority: storage, lighting, layout, ventilation, and reliable fixtures deserve as much attention as tile color.
Greater Boston bathroom renovation FAQ
How long does a bathroom renovation take?
The schedule depends on the scope, permit review, inspection availability, product deliveries, layout changes, and concealed conditions. A finish-only update is different from a gut renovation that moves plumbing, replaces wiring, repairs framing, and rebuilds a shower. We provide a project-specific schedule after the design, selections, permit path, and scope are defined.
Which permits may apply to a Massachusetts bathroom remodel?
Building, plumbing, and electrical permits may apply when the project changes walls, plumbing, wiring, fixtures, ventilation, structure, or windows. Zoning review may also be needed for footprint changes, exterior alterations, or other work governed by local rules. Aureli Construction coordinates with building departments across Greater Boston and schedules rough and final inspections for the permitted scope.
What is a realistic bathroom remodel cost in Greater Boston?
Planning ranges vary widely. A modest Somerville refresh may be around $8,000 to $12,000, a Newton renovation with plumbing and finish changes may be approximately $25,000 to $35,000, and a Lexington primary-bath upgrade with premium features may reach $40,000 to $60,000. The final price depends on selections, labor, access, permits, and conditions behind the walls.
How does Aureli Construction handle change orders and occupied homes?
We document concealed conditions and homeowner-requested changes in writing, explain the cost and schedule effect, and obtain approval before proceeding. For occupied homes, we establish work hours, access routes, dust containment, temporary bathroom arrangements, water shutoffs, material storage, and protection for adjacent rooms. Our team manages the design, permits, trade coordination, inspections, construction, and final walkthrough as one process.
Aureli Construction is a Massachusetts licensed general contractor serving Belmont, Brighton, Brookline, Burlington, Cambridge, Lexington, Medford, Melrose, Newburyport, Newton, Reading, Somerville, Stoneham, Wakefield, and Wellesley, MA. Homeowners comparing bathroom remodeling Medford, bathroom renovation Somerville, or bathroom remodeling Newton can begin with the same construction questions: What is included, which approvals apply, what happens behind the walls, and how will the project be handed over?
Ready to plan your bathroom renovation? Contact Aureli Construction for a free estimate at https://homeadditionma.com.
Aureli Construction helps Greater Boston homeowners plan bathroom renovations with clear scope, material guidance, permit coordination, trade scheduling, inspections, and final handover. Visit Aureli Construction to discuss your bathroom, kitchen, addition, basement, or ADU project and request a free estimate.