In Arlington MA, we see the same pattern over and over, a basement smells stale, the walls show white mineral staining, and the homeowner wants to know if a basement vapor barrier installation will fix it. In a lot of Greater Boston houses, the honest answer is that it helps, but only as part of a larger moisture strategy, not as a magic sheet of plastic.
A Cambridge basement told that story clearly last spring. The space had that damp, earthy smell you notice before you see the problem, plus efflorescence on the concrete and a cold floor that felt wrong underfoot. We ended up talking less about “just adding poly” and more about what was happening in the assembly, bulk water, vapor movement, and air leakage all needed different answers.
Table of Contents
- What a Damp Cambridge Basement Taught Us About Vapor Barriers
- Vapor Barriers Versus Air Barriers Versus Waterproofing
- Choosing the Right Membrane for Greater Boston Basements
- How We Install a Basement Vapor Barrier From Start to Finish
- What Basement Vapor Barrier Installation Costs in Greater Boston
- When a Vapor Barrier Is the Wrong Fix
- Massachusetts Code Permits and When to Hire a Contractor
What a Damp Cambridge Basement Taught Us About Vapor Barriers
The Cambridge job started with a smell, not a stain. By the time we walked the basement, the homeowner had already noticed the same white residue that shows up when moisture moves through masonry and leaves minerals behind. We also found a small area where the framing had been added without much thought for drying potential, which is where a lot of older New England basements get into trouble.
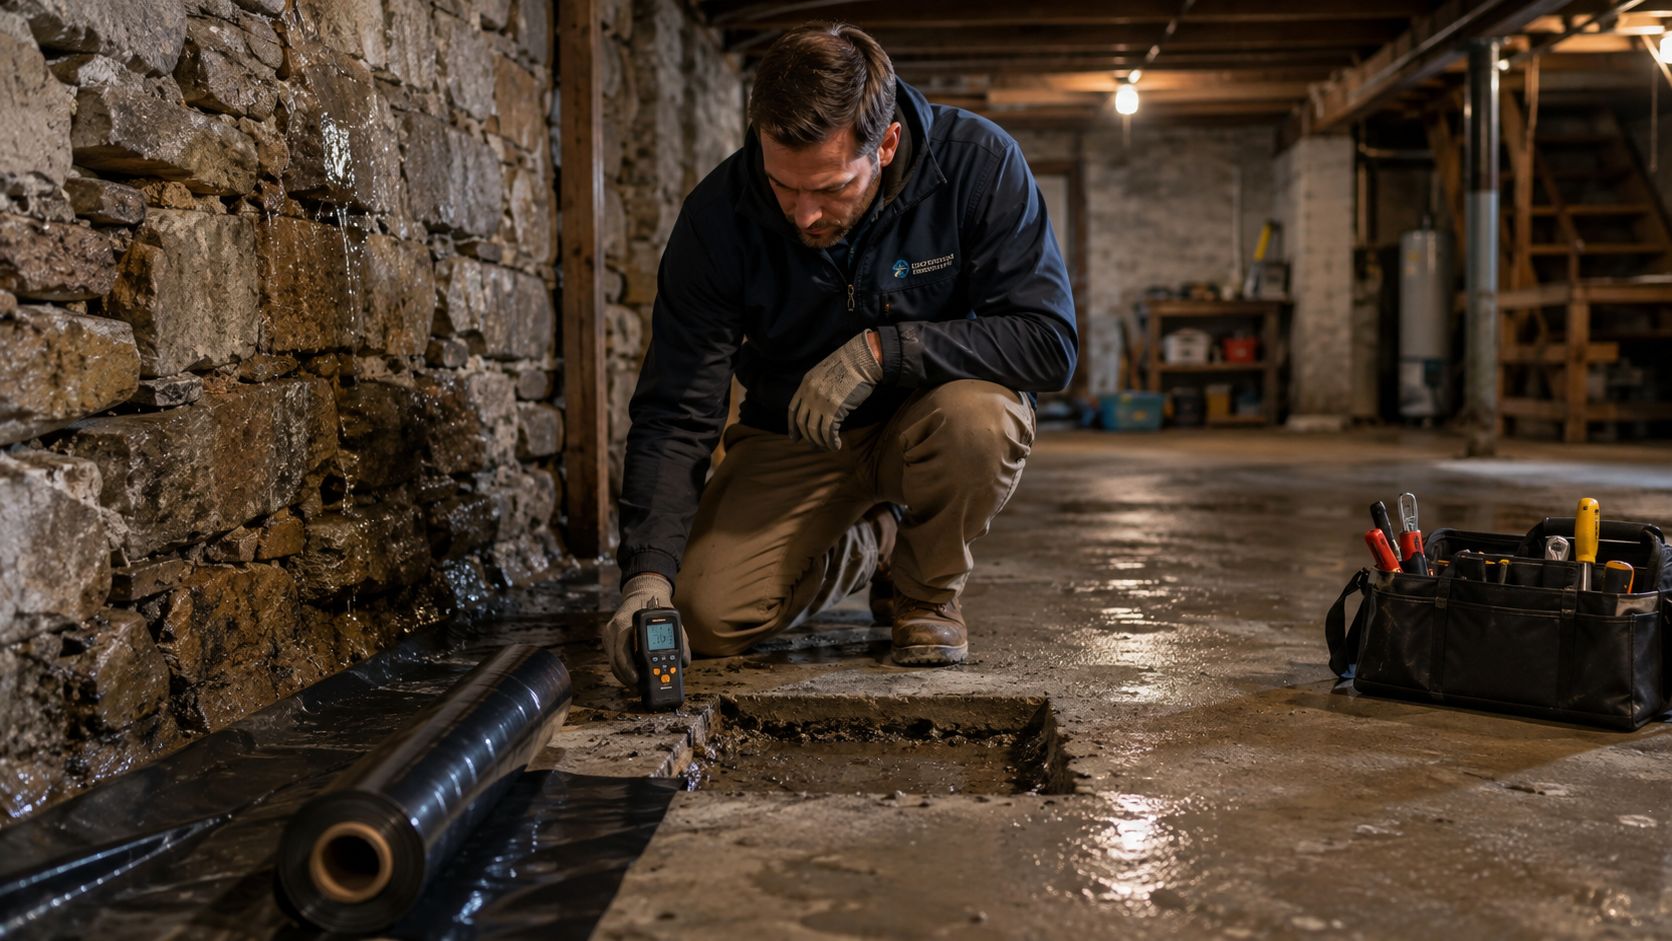
Practical rule: if the basement smells damp before it looks wet, you're already dealing with moisture movement, even if there's no standing water.
That's where homeowners get tripped up. A vapor barrier doesn't stop a foundation leak, and it doesn't cure a drainage problem. It slows moisture vapor, so if the wall is actively wet or the floor is taking on water, the fix starts somewhere else first. For deeper reading on mold-safe cleanup, mould remediation tips via BacteriaFAQ.com is a useful resource to review before anyone starts closing in damp materials.
We also point homeowners to our own basement moisture control guidance when the conversation goes beyond one material. In practice, the three failure modes are different. Bulk water comes through cracks, joints, or drainage failures. Vapor diffusion moves through materials more slowly. Air leakage carries a lot of moisture with it, especially in older basements with gaps at the rim joist, sill, or slab edge.
What the Cambridge walkthrough made clear
A roll of poly by itself won't solve all three problems. It can be the right layer in a finished basement, but only when the wall assembly is already designed to dry correctly and the liquid-water issue is under control. That's the part most homeowners miss when they search “vapor barrier needed?” and expect one yes-or-no answer.
The bigger lesson is simple. In Greater Boston, basement vapor barrier installation is usually one layer in a stack, not the whole answer. If the foundation is wet, the sequencing matters more than the product label.
Vapor Barriers Versus Air Barriers Versus Waterproofing
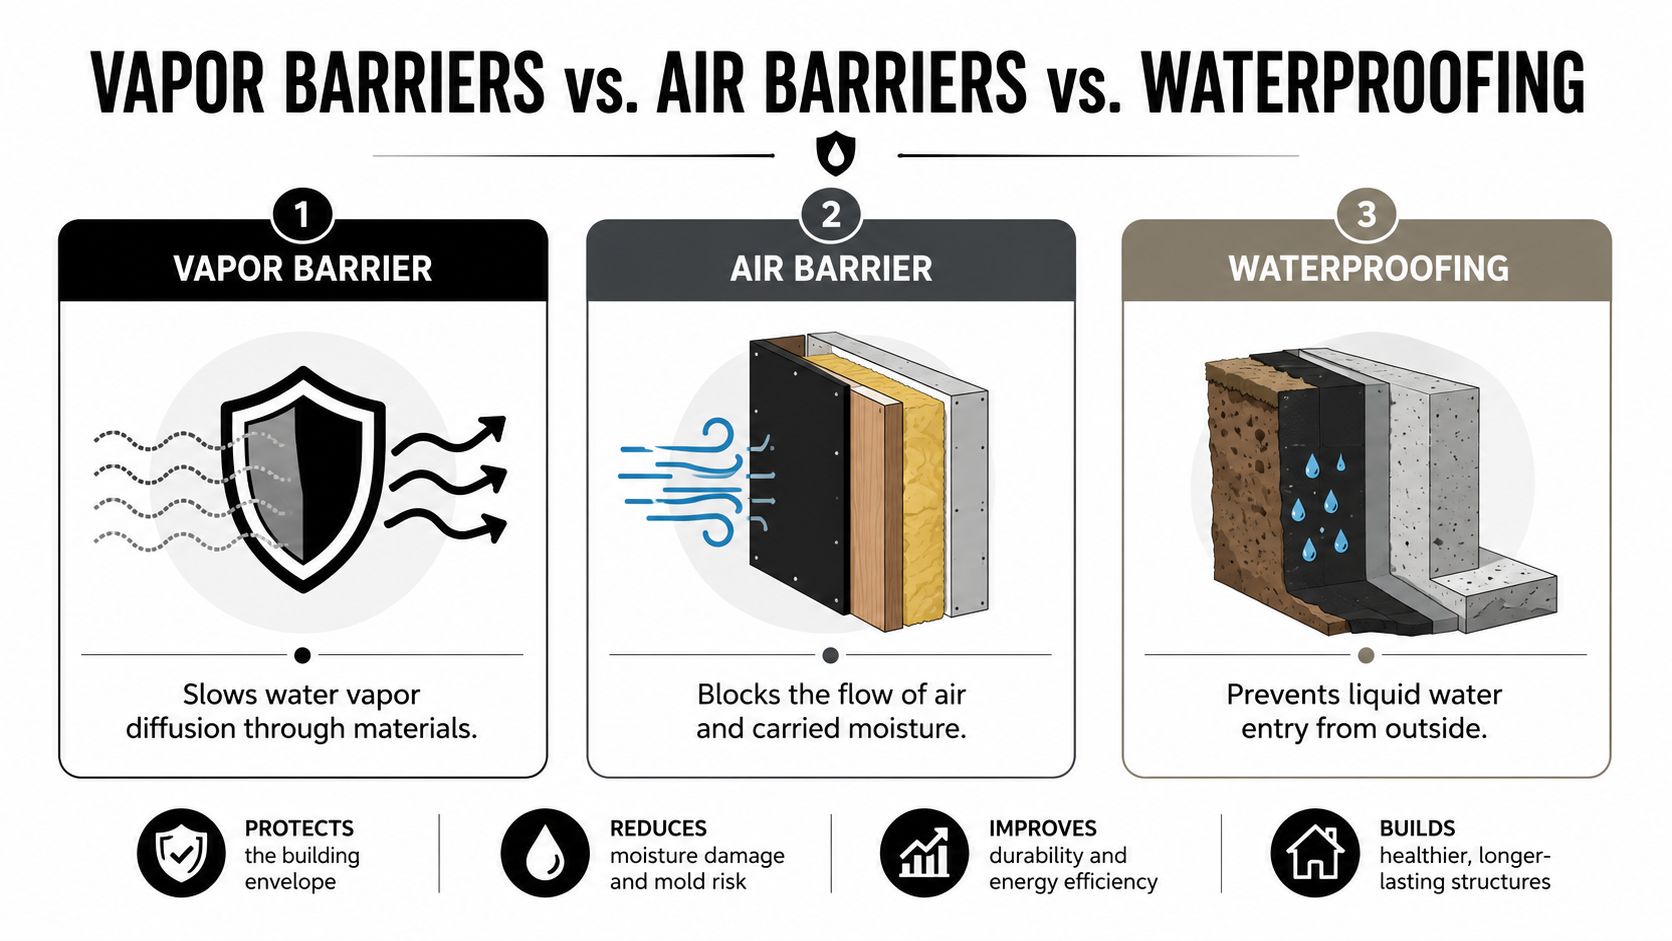
The terms get mixed up constantly, and that confusion causes bad installs. A vapor barrier slows the movement of water vapor through a material. An air barrier blocks air movement, and air can carry a lot of moisture with it. Waterproofing stops liquid water, which is a different job entirely.
Why the difference matters in old foundations
In a 1920s Cambridge fieldstone basement, the wall is irregular and often thirsty. In a 1960s Newton poured-concrete ranch, the wall may be smoother but still leak air at joints and transitions. In a Brighton triple-decker with a porous slab, the floor itself can be part of the moisture path. The right fix changes with the substrate.
The placement matters too. Multiple guidance sources agree that the barrier belongs on the warm side of the assembly in a heated basement, behind the insulation but in front of the framing, or directly against the concrete before framing goes in. That helps the wall dry the right way if moisture shows up later. Natural Resources Canada also warns that some basement assemblies can trap moisture if the wrong side gets the barrier, which is why rigid foam or smart-barrier approaches often make more sense than stapling poly everywhere in a retrofit (Natural Resources Canada).
Air leakage moves far more moisture than diffusion, so the first fix is often sealing the assembly, not adding more plastic.
How we explain it to homeowners
If the wall is damp from liquid water, waterproofing or drainage is the issue. If the basement is humid and the wall assembly is otherwise dry, vapor control may be the right move. If air is moving through the rim joist, slab edge, or framing gaps, you need an air-sealing strategy too.
That's why we don't treat these layers as interchangeable. A house in Brookline, Belmont, or Somerville can need all three concepts handled, just in different places. Our foundation waterproofing work often sits alongside that decision, because a dry basement starts with the right problem diagnosis.
Choosing the Right Membrane for Greater Boston Basements
The material choice shouldn't be driven by thickness alone. In basement work, thicker isn't automatically better, and the wrong membrane can cause a moisture trap if it blocks drying where the assembly needs it. We look at how the basement will be used, what the wall is made of, and whether the space is staying storage-only or becoming part of the conditioned house.
A practical comparison
| Basement Vapor Barrier Material Comparison | Typical Thickness | Cost per Sq Ft, Material | Drying Potential | Best Use |
|---|---|---|---|---|
| 6-mil polyethylene | 6 mil | Low | Limited | Basic vapor control in simple assemblies |
| 10-mil polyethylene | 10 mil | Moderate | Limited | More durable vapor control where puncture resistance matters |
| Foil-faced rigid foam board | Varies by product | Moderate to higher | Better than plain poly when detailed correctly | Finished basements and insulated retrofit assemblies |
| Closed-cell spray foam | Varies by application | Higher | Low permeability, but assembly-dependent | Air sealing plus insulation in targeted areas |
6-mil and 10-mil polyethylene are still common because they're straightforward and inexpensive to install. The question is whether the wall needs inward drying. If the answer is yes, then a fully impermeable layer may be the wrong choice. Canadian guidance specifically warns against creating a double vapor barrier in some basement wall assemblies, because trapped moisture can condense between layers and stay there.
What we install, and why
Polyethylene works well when the goal is vapor control on a simple basement wall, especially behind framed insulation in a heated space. Foil-faced rigid foam can make more sense when the basement is being finished and the wall needs insulation plus a more integrated air-and-moisture strategy. Closed-cell spray foam is useful when we need air sealing and thermal performance in a limited area, but it has to be detailed carefully so the assembly still makes sense as a whole.
Trade-off: the more impermeable the layer, the more important the rest of the wall stack becomes.
The biggest mistake I see is treating vapor barrier installation like waterproofing. It isn't. If the basement has active leaks, the membrane choice comes after drainage and bulk-water control, not before. For homeowners comparing assemblies in Massachusetts, that distinction is what keeps a finished basement from turning into a future tear-out.
For a broader building-science explainer, what is a vapor barrier is a helpful reference point when you're sorting product labels from real performance.
How We Install a Basement Vapor Barrier From Start to Finish
A clean install starts long before the first sheet goes on the wall. In a Cambridge basement, that usually means clearing off loose dust, checking for damp spots, and fixing cracks, holes, and other weak points so the membrane is not asked to cover up problems it cannot solve. If the wall is dirty or still damp, the work is already behind.
The sequence matters because a vapor barrier is part of the wall assembly, not a standalone product. On a house with concrete foundations, the right details depend on how the wall will dry, how the framing will sit, and whether the space is staying unfinished or heading toward a future buildout, the same practical thinking that guides residential concrete foundations Atlanta work when the concrete itself has to be part of a larger system.
The sequence that actually works
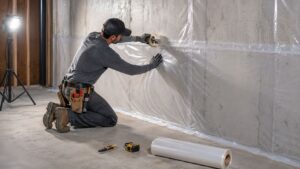
After prep, we measure each wall section and cut the polyethylene with enough allowance so the sheet is not stretched short at corners or around uneven framing. The membrane gets fastened tight, not loose, because slack leaves pockets where moisture can sit. Seams overlap by at least 4 to 6 inches, then every seam gets taped with vapor-barrier tape so the joints stay as controlled as the field of the sheet.
The trouble spots show up at penetrations. Sump lids, pipe stubs, slab-to-wall transitions, and service openings are where bypass moisture gets in if nobody details them carefully. We extend the membrane 6 to 12 inches onto the floor or adjacent surfaces so the layer stays continuous around corners and transitions, which is where a lot of DIY work falls apart.
A basement barrier is not done when the last sheet is up. It is done when the seams, corners, and penetrations act as one assembly.
Here is the process homeowners can use to judge the work:
- Substrate prep: clean, dry, and patch before any membrane goes up.
- Fit and fasten: cut with allowance, keep the sheet taut, and avoid wrinkles.
- Continuous seams: overlap generously and tape every joint.
- Penetration detailing: seal around pipes, sump lids, and slab edges.
- Integration with the rest of the basement: do not trap moisture behind new finishes.
When the basement is being turned into livable space, the membrane has to work with the future framing and insulation, not fight them. That is where planning matters more than buying thicker plastic. For homeowners planning a lower-level buildout, the moisture conversation belongs in the same room as the finish scope, even before trim and drywall are on the table.
For a separate look at how concrete substrates behave before a membrane goes in, residential concrete foundations Atlanta is a useful technical reference.
What Basement Vapor Barrier Installation Costs in Greater Boston
In Greater Boston, basement vapor barrier work usually costs more than national averages because labor is tighter, access is messier, and homeowners expect the result to fit a future finished space. A focused professional vapor-barrier job for a typical home often lands around USD 1,200 to 4,000, while a 1,000-square-foot basement floor is often quoted at USD 1,500 to 3,000 installed and full encapsulation at USD 4,000 to 10,000 depending on scope, according to the provided market guidance from Flood Prepare's vapor-barrier overview. Polyethylene materials themselves are commonly listed at roughly USD 0.10 to 1.00 per square foot, with some installation guides citing labor around USD 1.00 to 3.00 per square foot.
The price climbs when the job is being built as part of a real assembly, not just laid as a sheet on concrete. A basement that needs clean seams, tighter detailing, and coordination with framing or insulation takes more labor than a simple moisture-control layer. Prep work adds time too. Cracks, holes, uneven concrete, and old finishes all have to be dealt with before the membrane goes down. In a Cambridge or Newton basement, tight utility access and older foundation conditions can slow the work more than a newer suburban layout.
The first budget question is whether you are stabilizing the space or finishing it. Stabilizing keeps the job centered on moisture control and basic protection. Finishing the basement shifts the work toward assembly design, better detailing, and coordination with insulation and framing that fits Massachusetts code expectations. That difference changes both the labor and the material choices.
Homeowners can still control cost without cutting corners. Material selection is one place to keep the budget in line, as long as the membrane still matches the wall or slab condition. Sequencing matters too, because installing the barrier before other finish trades reduces rework and lowers the chance of damaging new materials later. DIY can look cheaper at first, but one bad seam or a missed penetration can wipe out that savings quickly.
For homeowners comparing costs on a larger lower-level project, the moisture-control budget should be weighed alongside the broader basement finishing scope, because the barrier is usually only one part of the whole assembly.
When a Vapor Barrier Is the Wrong Fix
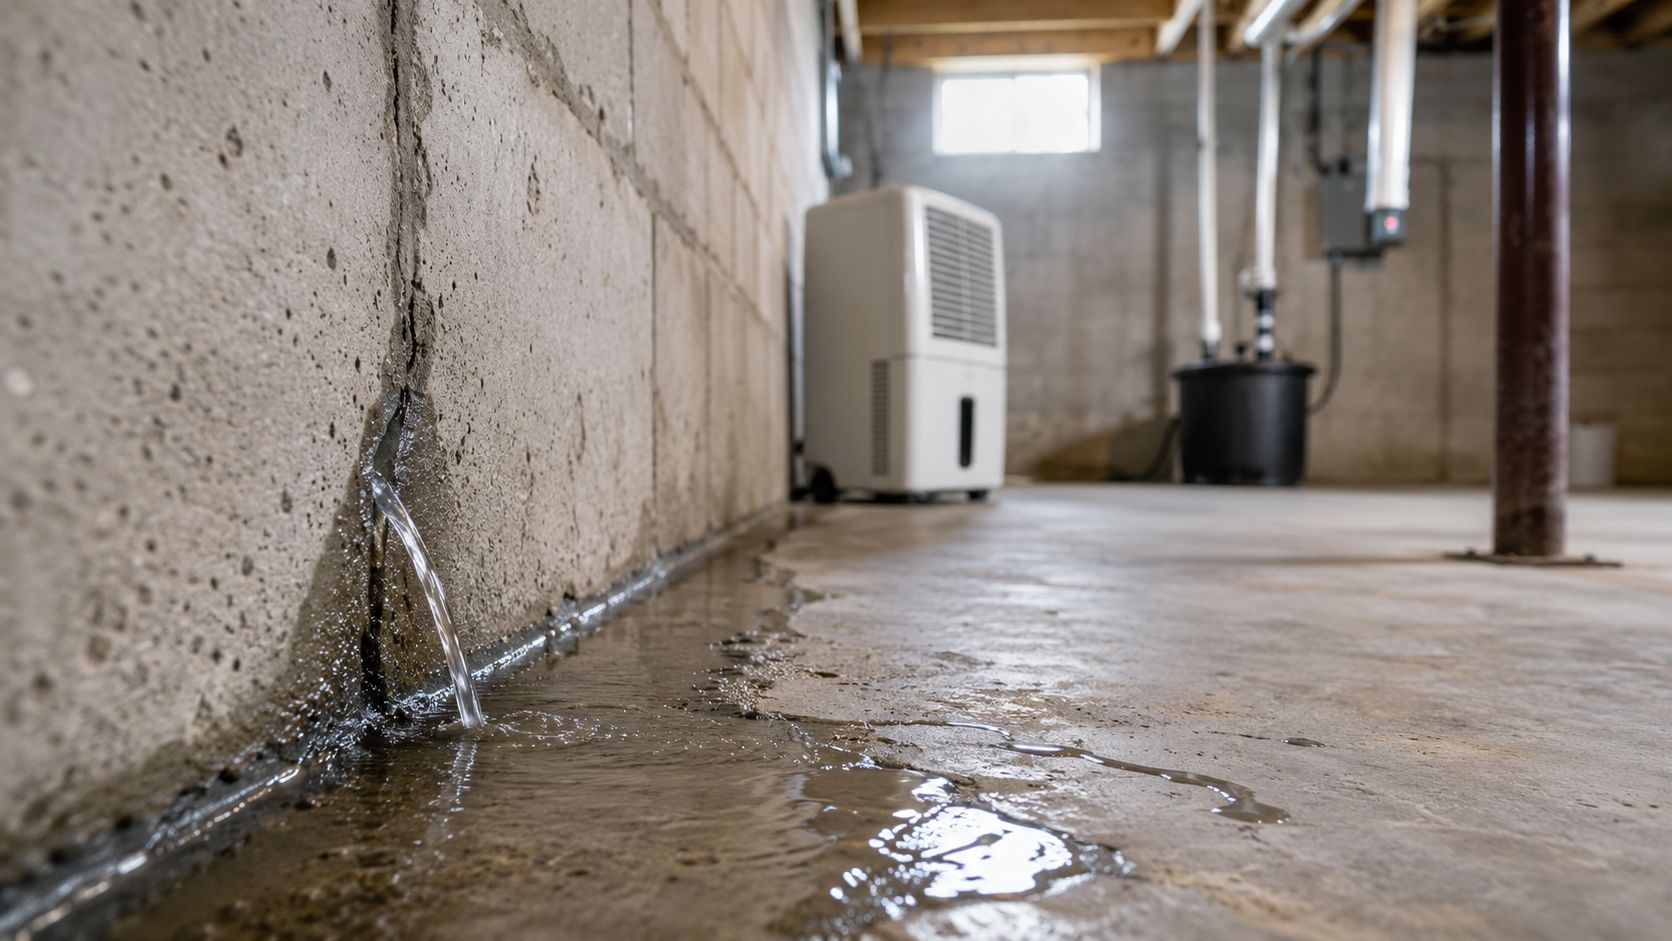
Some basements need drainage, not plastic. If water is coming through a cracked wall, a failed cove joint, or a drainage problem outside the foundation, a vapor barrier won't solve the source. Sealing a wet wall can trap moisture in the assembly and make the mold risk worse, not better.
Signs you should stop and reassess
If the wall gets visibly wet after rain, if the floor has active seepage, or if the foundation shows signs of bulk-water entry, the order of operations changes. Drainage, crack repair, and exterior water management come first. A vapor barrier can follow later if the finished assembly still needs it.
Cold-climate wall design is the other trap. In Massachusetts, a vapor barrier on the interior of a wall that already has exterior insulation or spray foam can create a double-barrier condition. That's why rigid foam or a smart membrane often makes more sense than defaulting to polyethylene. The wall has to be able to dry somewhere, and the wrong layer sequence can shut that down.
If the basement is wet from the outside, fix the outside path first. Plastic on the inside only hides the symptom.
The safest move is to pause when the moisture source isn't clear. That's especially true in older houses, where the foundation type, prior repairs, and finish layers all affect what will work. A quick material purchase can turn into a bigger repair bill if it's used as a substitute for real water control.
Massachusetts Code Permits and When to Hire a Contractor
Basement moisture-control and finishing work sits under the Massachusetts State Building Code, 780 CMR, and local permit offices don't treat every basement the same way. Some residential guidance says a vapor retarder is not required for basement walls or other below-grade portions, which is why the code question has to be handled carefully and assembly by assembly. For homeowners in Cambridge, Arlington, Newton, and Somerville, the permit process usually matters once the work moves beyond simple moisture control and into framed, insulated, or finished living space.
When the project includes structural changes, egress, electrical, plumbing, or bathroom tie-ins, inspections come into play. Rough inspections check framing, electrical, and plumbing before finishes cover anything. Final inspections happen before closeout and, where applicable, occupancy. For basement living areas, egress can become part of the conversation quickly, which is why we keep the opening and safety requirements in view from the beginning. Our basement egress window requirements resource is useful if the project is moving toward a finished lower level.
A few homeowner questions we hear all the time
- How long does the work take? It depends on prep, wall condition, and whether the basement is being finished.
- Do I need a permit? If the work goes beyond moisture control into framing, insulation, electrical, plumbing, or egress, likely yes.
- Can I live in the house during the project? Usually yes, but dust, access, and dehumidification logistics matter.
- What happens if the scope changes? That should be handled as a written change order before extra work starts.
If the basement is just damp, the work may stay simple. If it's becoming part of the home, the code, the wall assembly, and the inspection path all need to be coordinated from the start.
Ready to get a basement that stays dry for the right reasons, not just because it was covered up? Aureli Construction handles moisture-aware basement finishing, permit coordination, and the kind of assembly planning that keeps Greater Boston basements usable in the long run. Visit Aureli Construction to request a free estimate and talk through your project.